Wood Bending Techniques: Steam, Kerf, and Lamination
Quick answer
Choose steam bending for a continuous solid-wood curve, bent lamination for the most repeatable structural-looking curve, and kerf bending only when the cut face can remain hidden and the part is not being treated as an uncut structural member. Test the species, grain, thickness, radius, and springback on scrap before committing the project parts.
Source note: Updated August 7, 2026. Technique guidance was reviewed against the USDA Wood Handbook and OSHA woodworking resources. Bending performance varies greatly with species, grain runout, moisture history, stock quality, radius, and equipment.
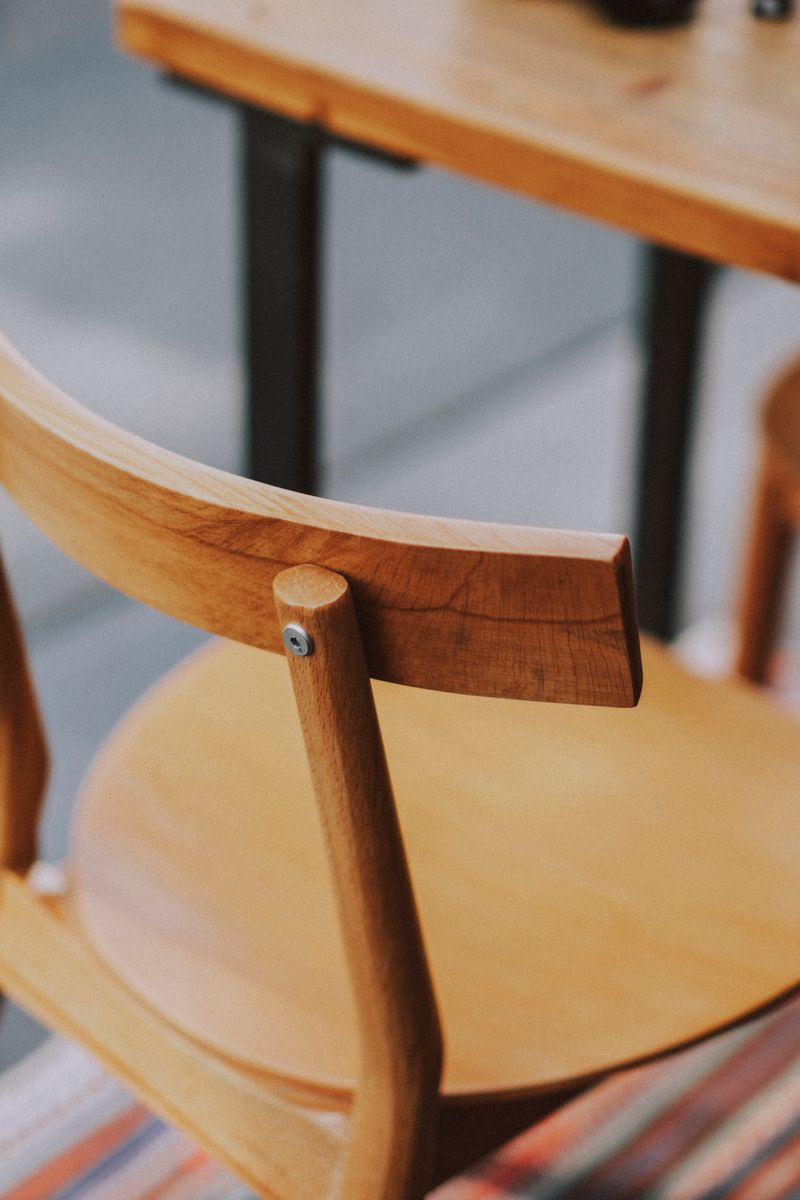
There is no universal best way to bend wood. The right method depends on whether you need continuous solid wood, a repeatable glued curve, or a fast hidden bend. Decide that first; then test the actual stock and radius on scrap because grain runout and moisture history can matter as much as species.
Choose a Wood-Bending Method
| Method | Best fit | Main tradeoff | First test |
|---|---|---|---|
| Steam bending | Visible, continuous solid-wood parts | Stock selection and springback are less predictable | Bend one extra blank from the same board |
| Bent lamination | Repeatable furniture curves and jigs | Glue lines, milling time, and many clamps | Find the thickest strip that follows the form without cracking |
| Kerf bending | Hidden backs of trim, panels, and noncritical shapes | The cuts reduce section strength and must be concealed | Dial in kerf depth and spacing on an offcut |
Safety first: Bending combines hot steam, spring-loaded stock, sharp machinery, adhesives, and heavy clamping pressure. Use eye and hearing protection, control dust, keep your body out of the release path, and follow the instructions for the steamer, saw, adhesive, and clamps. A steam box must vent freely; never build or operate it as a pressure vessel.
Why Wood Bends
Wood bends because of its cellulose structure. When heated and saturated with moisture (steam), the lignin that bonds wood fibers together softens, allowing the fibers to slide past each other. When the wood cools and dries, the lignin re-hardens, locking the fibers in their new shape. Understanding this principle helps you control the bending process and avoid failures.
Some species bend more readily than others. White oak, red oak, ash, hickory, walnut, and elm are excellent bending woods. Maple and cherry bend moderately well. Softwoods like pine and fir are poor bending woods and tend to break.
Steam Bending
Steam bending is the most traditional and versatile wood bending method. It produces strong, single-piece curves with no glue lines or visible joints. The process involves steaming the wood to make it pliable, bending it around a form, and allowing it to cool and dry in the bent shape.
Equipment
A steam box is a vented chamber that delivers steam around the wood. Use a heat- and moisture-tolerant design recommended for the steam source; wood or suitable metal are common choices. Ordinary PVC can soften at steam temperatures, and a sealed chamber can build dangerous pressure. Use a commercial steam generator or another purpose-appropriate source exactly as its manufacturer directs.
You also need a bending form (a shaped jig that the wood bends around), clamps for holding the wood to the form, and a compression strap (a metal or wooden strap that prevents the outside of the bend from stretching and breaking).
The Process
-
Cut the wood to size. Use straight-grained, defect-free stock. The piece should be at least 12 inches longer than needed — the ends often split and need to be trimmed.
-
Steam the wood. Place the wood in the steam box for approximately 1 hour per inch of thickness. A 1-inch-thick board needs about 1 hour; a 2-inch board needs about 2 hours.
-
Bend promptly. Arrange the form, strap, stops, clamps, and helpers before opening the box. Transfer and restrain the stock without putting hands or your face in the steam path. The workable window depends on the stock and setup, so rehearse the motion with a cold blank first.
-
Use a compression strap. A metal strap with end blocks prevents the outside of the bend from stretching. This dramatically reduces the failure rate, especially for tight curves.
-
Let it dry. Leave the wood on the form for 24 to 48 hours. The wood must cool and dry completely before removing it from the form. Expect some springback — the wood will straighten slightly when released.
Tips for Success
Air-dried stock is often preferred for steam bending because severe kiln schedules can reduce bendability. Simply steaming kiln-dried wood longer does not guarantee success; use a generous radius, make test bends, and expect a higher rejection rate when the stock history is unknown.
Avoid wood with grain that runs out to the edge of the board — it will split along the grain line during bending. Select boards with grain running parallel to the faces.
Kerf Bending
Kerf bending is the simplest bending method. It works by cutting a series of closely spaced kerfs (saw cuts) across the back of the board, allowing it to flex. The depth of the kerfs determines the flexibility — deeper kerfs allow tighter bends but weaken the board.
Kerf bending is best suited for thin panels, cabinet corners, and applications where the kerfed face is hidden. There is no reliable universal depth or spacing: blade width, stock thickness, grain, and radius all change the result. Set up stops and guarding appropriate to the machine, leave a continuous face thick enough to survive the bend, and tune the spacing on an offcut before cutting the project part.
Clamp the kerfed piece to a form and use a compatible backing, filler, or adhesive only when the project design calls for it. Filling saw kerfs does not restore an uncut board’s original strength. Keep kerf-bent parts out of structural or safety-critical service unless the assembly has been designed and verified for that load.
Bent Lamination
Bent lamination involves gluing multiple thin strips (veneers) together around a form. Each strip is thin enough to bend without steaming, and the combined thickness of the laminated stack creates a strong, rigid curve. This is the most reliable bending method and produces consistent results.
The Process
-
Resaw thin strips. Cut strips 1/8 to 1/4 inch thick on the bandsaw or table saw. The strips must be thin enough to bend around the form without breaking. Thinner strips bend more easily and produce tighter curves.
-
Prepare the form. Build a two-part form (male and female) or a one-sided form with clamping cauls. The form must be strong enough to withstand significant clamping pressure.
-
Glue and clamp. Apply glue to both sides of each strip (a foam roller works well). Stack the strips and clamp them to the form, starting from the center and working outward. Use plenty of clamps — any gap between laminations weakens the joint.
-
Let it cure. Leave the laminated piece on the form for at least 24 hours. Unclamp it, remove it from the form, and sand the glue squeeze-out from the surfaces.
Advantages
Bent laminations can be strong and repeatable because thin, well-fitted strips follow the form with less bending stress and the cured glue lines share the load. Keep the grain running along the curve rather than alternating it across layers. Springback is usually lower than with steam bending, but the amount still depends on radius, strip thickness, adhesive, cure, and form compensation.
Choosing the Right Method
For small projects and gentle curves, kerf bending is fastest and simplest. For single-piece curves with traditional aesthetics, steam bending produces the most authentic results. For reliable, consistent curves in any wood species, bent lamination is the most dependable choice.
Whichever method you choose, practice on scrap wood first. Bending wood is a skill that improves with experience, and the lessons learned from each attempt carry forward to the next project.
Related Articles
Choosing the right species for bending starts with knowing your wood. The wood types guide covers which hardwoods and softwoods bend readily and which are prone to breaking. Once you have bent your parts, they will need to be jointed into the larger project — the biscuit joiner vs. Domino comparison covers alignment and connection methods well-suited to bent components. Finishing a bent lamination or steam-bent piece requires some care — the wood finishing guide explains how to apply stain and topcoat to curved surfaces.
Sources and Update Note
This guide was reviewed on August 7, 2026 using the USDA Wood Handbook for wood behavior and OSHA woodworking guidance for machinery hazards. The update removes unsafe PVC/pressure implications, treats kerf depth as a test variable instead of a universal percentage, and corrects the grain-direction explanation for bent laminations.
Plan the stock, form, glue-up, and finish together
Use these guides to select bendable stock, account for movement, choose an adhesive, and prepare a curved part for finishing.
- Wood types guide
Compare species and grain characteristics before making test bends.
- Understanding wood movement
Allow for moisture and seasonal movement in forms and assemblies.
- Wood glue guide
Match bent-lamination adhesive choice to open time, temperature, and use.
- Board-foot and cut-list worksheet
Include test blanks, rejected parts, strip quantities, and trimming allowance.

The Carpenter's Guide Editorial Team
Independent trade-focused editorial team